
A few articles ago I had talked about the pros and cons of Ubuntu on Power solutions, promising in some comments to do an article outlining the installation steps, and here it is.
Requirements
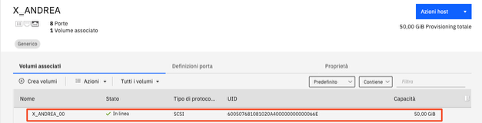
To proceed with the installation, it is essential to have created the partition. In my example, the partition was created with 0.1 core, 16 GB RAM and 50 GB on IBM storage presented to the partition via SAN. These are clearly my figures, you can change them if you want to give more resources or if you use different technology for storage access such as storage pools.
This is the detail on the disk created on the storage:
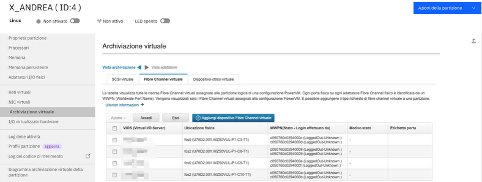
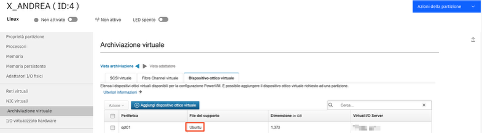
Now, once the infrastructure setup is done, so the partition sees the storage and the disk presented to it, we can proceed with downloading the Ubuntu image directly from the official site and upload it to the VIOS (see this documentation if you don’t know how). The last step before being able to turn on the machine involves the creation of a virtual optical, so again from HMC in the ‘Virtual Storage’ panel we go to select the tab for virtual optical and click on the add button selecting the VIOS on which the file with the operating system image has been uploaded.
Installation
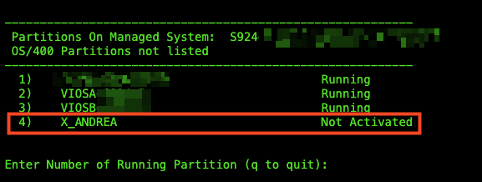
- Connect to HMC using SSH, choose the correct server in which partition is with VTMENU command and after that choose your partition:
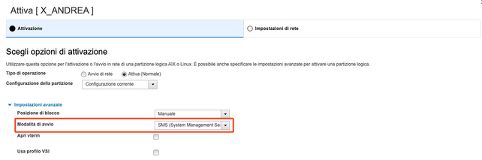
- Start partition in SMS mode (SMS mode is a function like the computer’s BIOS)
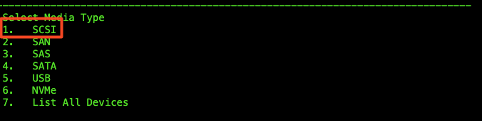
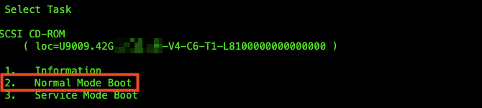
- Now follow the steps proposed in these screens


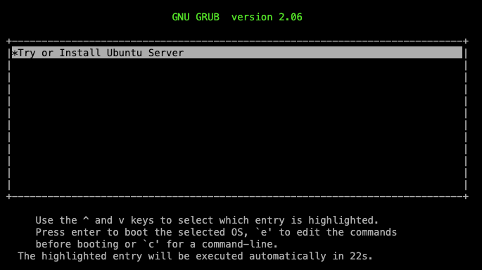
- If everything works fine, and you choose every time the correct option, grub will star in a few seconds
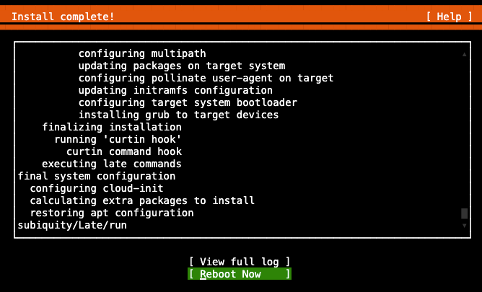
- Ok, now the installation will proceed like in any other architecture, you need to choose which network card do you want to use, disk and file systems configuration and the first user for this server. Once the installation is completed you can restart the partition:
POST INSTALLATION CHECK
One of the most important things in my opinion is the multipath support that is natively installed, to check that run multipath -ll and it will show you all path for your disk. In my scenario, I willl have 4 active paths to my disk for each VIOS:
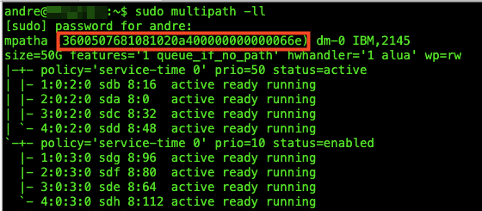
As another proof that everything works fine, as you can see Ubuntu gave me the same disk serial as the storage.
Take note that this short tutorial was written for Ubuntu, but also works fine with other distros such as Debian or any other distros that support PPC64LE architecture.
Andrea